How To Verify A Site With Google Webmaster Tools
- David
- September 10th, 2012
Whether you love it or hate it, all webmasters must develop a relationship with Google to take advantage of the best the web has to offer.
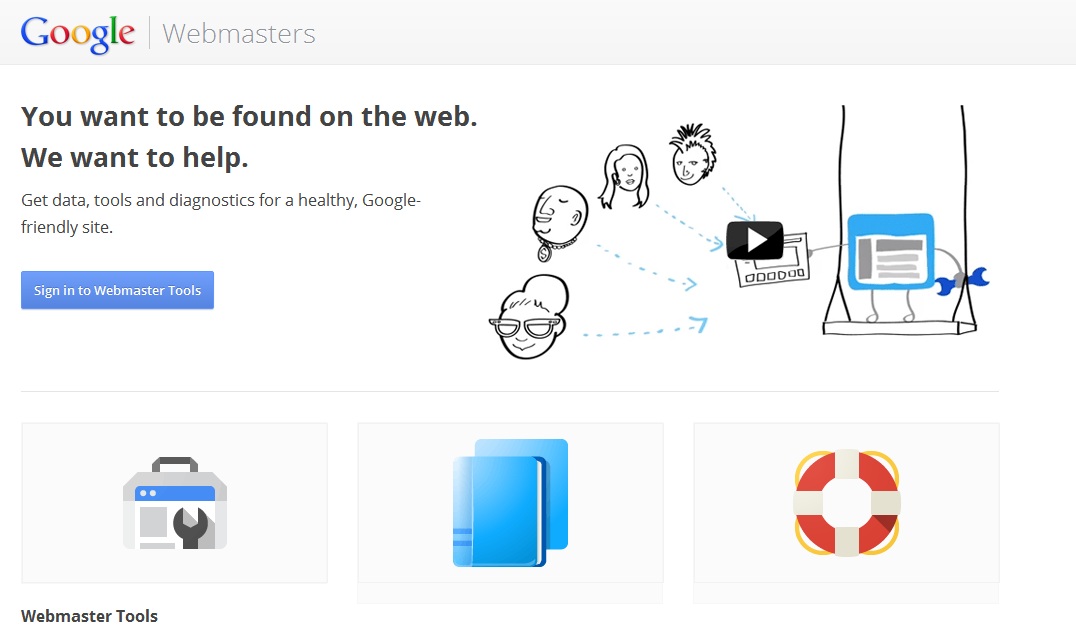
Although it can be a little clunky on the inside, Google does have one specific program meant to make life easier for those of us who wish we spoke HTML-ese. It is called Webmaster Tools, and it is completely free.
Google Webmaster Tools provides a variety of nifty resources, including:
- Webmaster Academy (to teach you the finer points about creating crawlable websites)
- Search for malware, traffic problems, and crawl errors
- Fetch as Google (a program that allows you to pull up a page as Google to see what this number one search engine sees)
- Find key stats on traffic including links and search queries
- Optimize the site with improved HTML, keywords, content, and sitemaps
- Plus secret, extra-special programs from the "Labs"
But, none of these resources are available to you until you verify a site with Google Webmaster Tools. This process seems a little confusing at first, but is actually incredibly easy.
To verify a site with Google Webmaster Tools:
1. Log-in with your Google Account. Then, click "Add a Site."
2. Type in the URL of the site you'd like to manage into the pop-up. Remember: the URL includes http://.
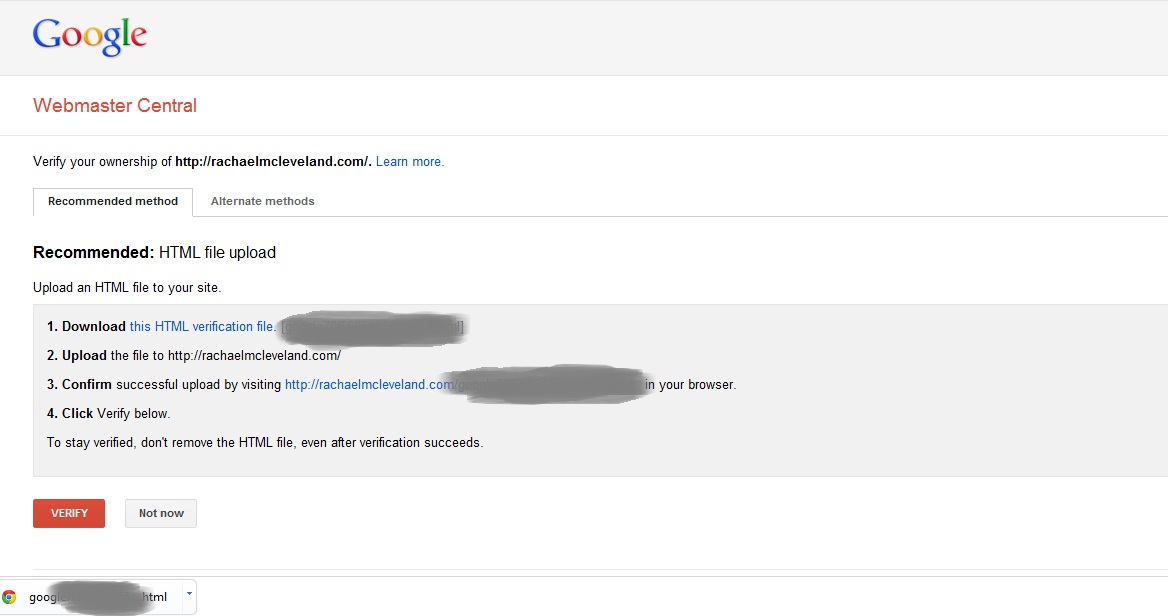
3. Next, you'll arrive to a page that looks like the one below. First, download the HTML Verification File provided in Step 1. If you use Google Chrome as your web browser, it will appear in the download bar at the bottom of the page.
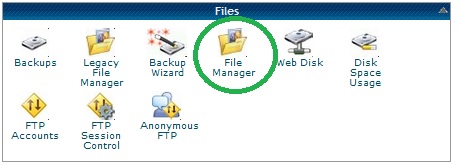
4. This is the trickiest part. Head over to cPanel and log-in (this is the page used to manage everything inside your site, and you access it through your hosting company). Search for the "File Manager."
5. Once you click this, a pop-up will appear requesting you to select the specific domain name you plan to modify. If you only have one site, this will be the only option. If you have multiple sites, click the one you want to work on at the moment (the one you told Webmaster Tools you would verify).
6. As soon as you're inside the File Manager, click the "Upload" button in the top bar as noted below:
7. Once that file uploads, you're all done using both File Manager and cPanel. Log out.
8. Now, go back to the tab featuring that list of directions to follow Step 3. Click the link provided as Step 3 to make sure the file uploaded correctly. You'll see this, but with your own special code.
9. If that worked right, go ahead to the last step on the list, which is the push the Verify button. If that didn't work right, go back and repeat the steps until the file uploads on the File Manager, and you can access a page on your domain that shows the specific code as noted in Step 8.
10. Once you're verified, you'll be given access the entire collection of Webmaster Tools. Once you sign in, you will see a list of your websites, and can set up any of the special tools immediately!
Did this do the trick? Let us know by commenting below!


